With the help of wireless technologies nowadays it’s possible to create own home network. it will include all mobile devices and computers, equipped with Wi-Fi adapters. Such opportunities are potentially available to everyone, but not everyone knows how to connect Wi-Fi at home. In fact, everybody can carry out this task, and for this, it is necessary to do a few actions step by step.
With the help of wireless technologies nowadays it’s possible to create own home network. it will include all mobile devices and computers, equipped with Wi-Fi adapters. Such opportunities are potentially available to everyone, but not everyone knows how to connect Wi-Fi at home.
In fact, everybody can carry out this task, and for this, it is necessary to do a few actions step by step:
1. Choose the place
First of all, should be chosen as a place for equipment installation. It’s recommended to install a Wi-Fi router in the central part of the room so that the signal is available in all rooms. The higher you put the device, the fewer barriers the signal will have, so it’s recommended to place it closer to the ceiling: on the cabinet, on the top shelf or on the rack. The router should be kept away from household appliances and mirrors so that they do not reflect the signal.
2. A connection of the equipment
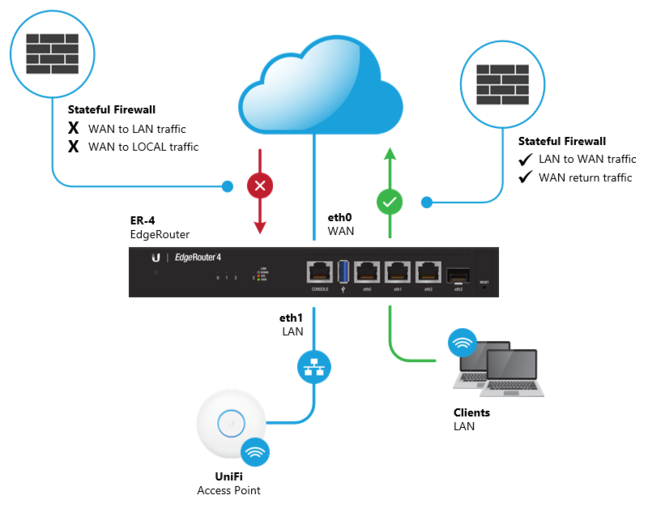
The internet connection cable must be plugged into the WAN connector. In most cases, the Internet is already available at once. You just need to complete the settings.
3. Connection configuration
After turn on, there is a need to synchronize equipment with your computer, set the network name and password.
The user needs to turn on the computer and go to the browser. In the address bar, must be entered the IP address of the device. It is written on the factory sticker or in the instruction, attached to the router.
In order to access the network, the user needs to enter a username and password. In most cases, by default, there is already set the username and password admin – admin. The next step is to find the “Wireless mode” section in the router settings, go to the “Wireless mode settings” tab and fill in the lines:
- Enter the network name in the appropriate line;
- In the line “Region”, select the appropriate item;
- In the “Mode” line, select the wireless network standard. Most often is used 802.11bgn;
- Put Auto in the “Channel” line;
- Check the boxes next to “Enable Wireless Broadcast” and “Enable SSID Broadcast”.
4. Set password
In the same section “Wireless Mode” there is a tab “Wireless Protection”. The user needs to find it and follow these steps:
- Select WPA / WPA2 – Personal;
- In the subitems “Version” and “Encryption” set the value “Automatic”;
- In the “Wireless Network Password” field, enter a new password.
5. WAN configuration
Sometimes the pages in the browser begin to load immediately without additional settings. If this does not happen, the user needs to enter the settings of the router and go to the “WAN Network” tab. The next step is to specify the type of connection, that is used by the provider. This information can be taken directly from the provider.
So, now it’s quite clear how to get home wireless wifi, as well as connect and install a router in the apartment. And in fact, everybody can do this without the help of specialists. If the installation process was carried out correctly, there should be no connection problems.

This article was created with the support of Internet-shop https://www.eurodk.com.


