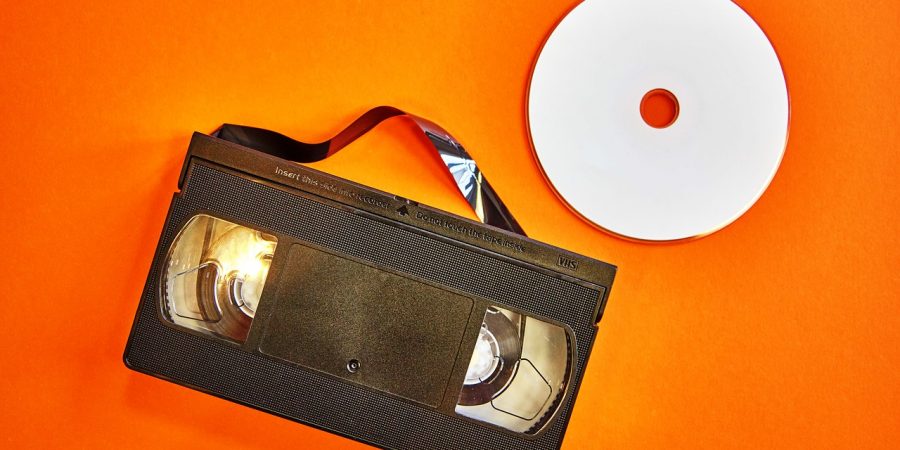
Back in the 1980s, VHS tapes dominated the home movie universe. VHS tapes offered everything from home movies to Hollywood blockbusters. Yep, VHS tapes ruled our home theatres. Now Tapes To Digital offer the best VHS to DVD converter going.
Like many of the old physical media formats, VHS tapes weren’t designed to last forever. And, sadly, many didn’t!
VCR Trauma
For anyone old enough to remember, all those well-used VCRs often bit their owners by chewing up the VHS tapes they were meant to be playing. Alternatively, the VHS’ tape itself would eventually wear out and lose its protective coating.
Those VHS tapes would get jammed in the VCR causing you to lose part of a critical recording. This was especially traumatic if it happened to be a tape of a favourite childhood memory or an important family event.
Which brings to a confronting question, how do you repair your old VHS tapes, thus heroically saving those timeless childhood and family memories for future generations?
Kick Back, Relax And Never Have To Rewind A Fragile Tape Again!
Well, relax. Thanks to Tapes To Digital and the best VHS to DVD converter gear on offer, saving your increasingly delicate VHS tapes and their irreplaceable memories can be done.
Let’s take a peek behind the scenes and see how it’s done. Depending on how well preserved your tape is, there may be several steps involved to usher your memories into the digital age.
1. Inspect Your VHS Tape Cassette
This is always the easiest part. Tapes To Digital begin your tape conversion by inspecting your VHS tape to see if it has suffered any physical damage or has deteriorated with time.
Is the tape split? Does a knot of jumbled tape lie concealed within its casing? If no tape damage is visible, Tapes To Digital’s technicians will open the flap to see if there is any visible tape at all. If they discover a problem, it’s time to move to the operating table for a little rectification therapy.
2. Open Your VHS Tape Cassette
A typical VHS tape cassette features five securing screws, one placed at each corner with the fifth being set in the centre of the cassette. Hence, opening it involves using a standard Philips head screwdriver to coax those often-reluctant screws to surrender their grip on the plastic casing.
Once all five screws have been successfully removed from the casing, it’s time to open it up for a visual inspection. In completing this phase Tapes To Digital’s technicians ensure the front side of the tape is facing them.
This offers the best chance of releasing the cassette housing without damaging its precious cargo.
3. The Delicate Art Of Performing Tape Surgery
Once your tape cassette is lying neatly open in two parts, Tapes To Digital’s technicians are ready to scrub in and perform delicate surgery if required.
Firstly, they will direct controlled bursts of compressed air into the holes and crevices on the VHS cassette to dislodge loose mould and other debris.
Then they look for evidence of mould on the tape’s surface. Mould can form on almost any surface in the presence of heat and moisture. Hence garages or storage lots aren’t always the ideal place to store fragile VHS tapes!
Mould on your VHS tapes can cause your VCR player to clog up and malfunction as the tape heads rapidly become choked with mould and small debris. If mould is present, the team skillfully cleans the tape’s surface, using a thin microfiber cloth on the length of the VHS tape making sure not to miss any splotches or mould spores on the tape surface.
This painstaking process is repeated until your complete videotape is cleaned and there is no longer any evidence of mould. In many instances, the mould is on the outer section of videotape and may not have managed to penetrate all the way through to the tape’s spool core.
If your VCR has eaten any sections of tape rendering it unplayable, these sections are excised to remove the mangled mess, leaving behind only undamaged tape. This is completed by carefully unwinding the tape from its reels in preparation for a clean cut. The tape is then spliced to ensure it unwinds properly when played through the conversion software.
4. Threading The Tape Through Its Rollers
Once the tape has been cleaned of mould infestation and any mangled sections of tape have been excised and spliced back together, your Tapes To Digital’s technician is almost finished.
Their next step is to run the tape through the pinch rollers before wrapping the tape around the top of the cassette.
5. Reassembling The Tape Cassette
The final step is to reassemble the VHS tape’s protective cassette. The tape’s casing is deftly put back in place and gently rocked until it seals seamlessly shut. From here, the five securing screws are reinserted and voila, your VHS tape is as near to being good as new as is possible given the depredations of time.
Remember, it may have been new 20 something years ago and in the intervening time, it has probably been played countless times. So remember to manage your expectations.
A Smarter, Easier Solution
Sure now you understand how to repair a videotape. However, do you really want the headache, time, effort and frustration that comes with attempting those cleaning and repairs yourself?
One mistake or clumsy movement and zap! All your childhood or family memories could be gone in a single stroke. Is it really worth risking it?
Have the professionals at Tapes To Digital’s take the pain out of repairing your fragile VHS tapes and transfer them to a digital format using the best VHS to DVD converter.
Not only will Tapes To Digital repair your VHS tapes cost-effectively and quickly, but they can also then digitize them, so you never have to worry about losing your precious memories to either the ravages of time or shifting standards in storage and entertainment technology.
So, relive your most memorable childhood memories over and over again with family and friends and safeguarding them for future generations regardless of where your family members happen to be living.
It’s forever, turned simple and affordable.
Final Observation
The most reliable way to ensure your memories caught on VHS tape are saved for posterity is to go with a professional converter such as Tapes To Digital. They use only the best VHS to DVD converter software to deliver improved colour, contrast and audio quality offered by the latest digital format.